There are several reasons why solder might turn black during the soldering process, and it's important to understand these reasons to prevent and fix the problem. Blackening or discoloration of solder can be caused by a variety of factors, including the type of solder being used, the temperature of the soldering iron, and the presence of contaminants on the surfaces being joined. By understanding the causes of blackened solder, you can take steps to prevent the problem and ensure that your soldering work is successful and reliable.
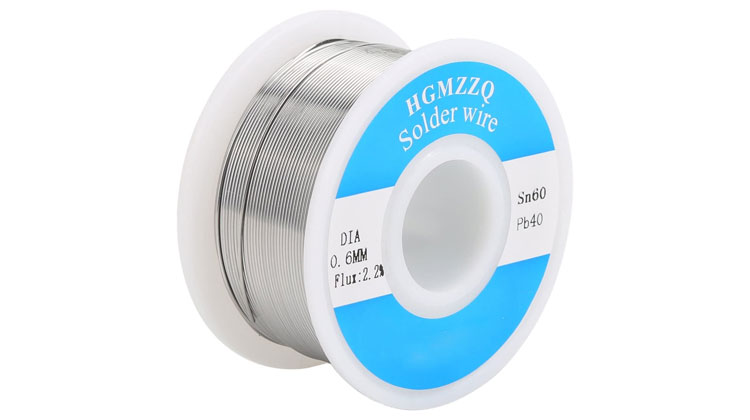
One of the most common causes of blackened solder is the type of solder being used. Different types of solder are made from different metals, and some of these metals are more prone to blackening or discoloration than others. For example, some solders contain lead, which can react with oxygen in the air to form a black oxide on the surface of the solder. In addition, some solders contain tin, which can react with other metals to form black compounds. If the type of solder being used is prone to blackening, it's important to be aware of this and to take steps to prevent the problem.

Another common cause of blackened solder is the temperature of the soldering iron. Solder melts at a relatively low temperature, and it's important to apply the correct amount of heat to the surfaces being joined in order to melt the solder properly. If the soldering iron is too cold, the solder may not melt properly, and the joint may be weak or unreliable. On the other hand, if the soldering iron is too hot, the solder may melt too quickly and form a black crust on the joint's surface. To avoid this problem, it's important to use a soldering iron with the correct temperature range for the solder being used and to monitor the iron's temperature during the soldering process.

Another factor that can cause blackened solder is the presence of contaminants on the surfaces being joined. The solder adheres to the surfaces of the components being joined by a process called wetting, in which the solder flows and wets the surfaces of the components. However, if the surfaces are contaminated with dirt, grease, or oxidation, the solder may not be able to wet the surfaces properly, and the joint may be weak or unreliable. In addition, the contaminants on the surfaces may react with the solder, forming black compounds or discoloration. To avoid this problem, it's important to clean the surfaces of the components being joined thoroughly before soldering, using a solvent or other cleaning agent to remove any contaminants. By ensuring that the surfaces are clean and free of contaminants, you can help to prevent blackened solder and ensure that the joint is strong and reliable.
In conclusion, blackened or discolored solder can be caused by a variety of factors, including the type of solder being used, the temperature of the soldering iron, and the presence of contaminants on the surfaces being joined. By understanding the causes of blackened solder, you can take steps to prevent the problem and ensure that your soldering work is successful and reliable. This includes using the correct type of solder, maintaining the correct temperature of the soldering iron, and cleaning the surfaces of the components being joined thoroughly before soldering. By following these steps, you can help to prevent blackened solder and ensure that your soldering work is successful and reliable.
In some cases, blackened or discolored solder can be fixed or repaired by reworking the joint. Reworking involves heating the joint again and applying additional solder to the joint to strengthen or improve its reliability. To rework a joint that has blackened or discolored solder, it's important to follow these steps:
Clean the joint thoroughly, using a solvent or other cleaning agent, to remove any contaminants or residue that may be present. This will help to ensure that the additional solder will wet the surfaces of the components properly and will help to prevent further discoloration or blackening.
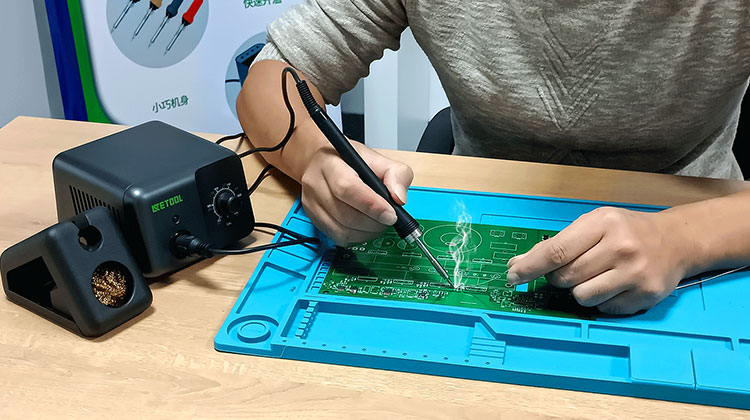
Heat the joint with the soldering iron, applying the correct heat to the joint to melt the existing solder. It's important to use the correct temperature range for the solder being used and to monitor the iron's temperature during the reworking process.
Apply additional solder to the joint using a soldering iron and the correct type and amount of solder. The additional solder should be applied carefully and evenly to ensure that the joint is strong and reliable.
Remove the soldering iron from the joint, and allow the solder to cool and solidify. The joint should be inspected carefully to ensure that the additional solder has flowed and wetted the surfaces of the components properly and that the joint is strong and reliable.
Following these steps makes it possible to rework a blackened or discolored solder joint and improve its strength and reliability. However, it's important to keep in mind that reworking a joint can be challenging and time-consuming, and it may not always be possible to fix a joint that has blackened or discolored solder. In some cases, replacing the components or the entire circuit may be necessary to ensure the joint is strong and reliable.
Contact: Mr. Li
Phone: (0086) 138 24254 321
E-mail: atetool@atetool.com.cn
Add: 5F, 1-2# Building, Tongfuyu Industrial Zone, Aiqun Rd, Shiyan Subdistrict, Bao'an, Shenzhen, 518108, China